
In this article we will learn the Oracle Enterprise Linux 5 installation step-by-step. Research in the operating system running Oracle database shows that, Linux operating system is preferred. In fact, this is a more reliable operating system. Its installation is not scary to think at all. You can download it from Oracle site. Oracle Enterprise Linux and Red Hat EL 5 have the same characteristics. let us go step by step installation of OEL 5. We will be doing the installation on VMware virtual computer.
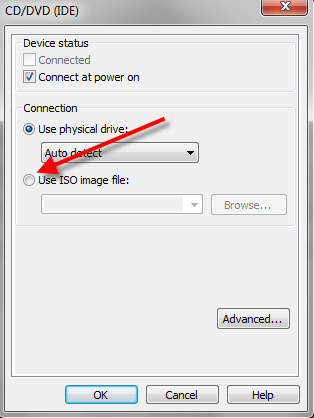
1. Mount iso image file to VMware, downloaded from http://edelivery.oracle.com/linux
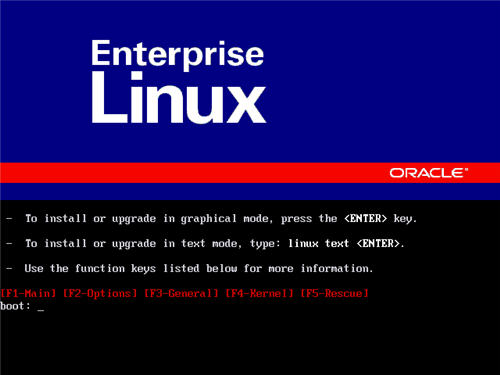
2. RUN our virtual machine. To install in graphical mode press [ENTER] key
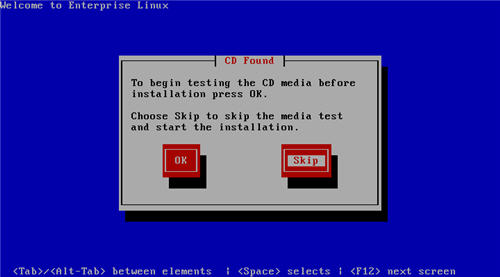
3. For testing the CD media screen we will skip. Press [TAB] key to pass SKIP button and [ENTER] key to continue.
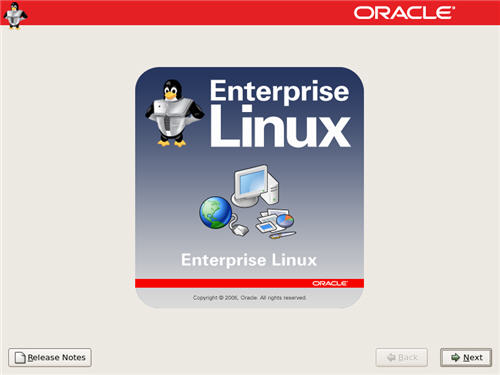
4. On the “Welcome” screen click [NEXT]
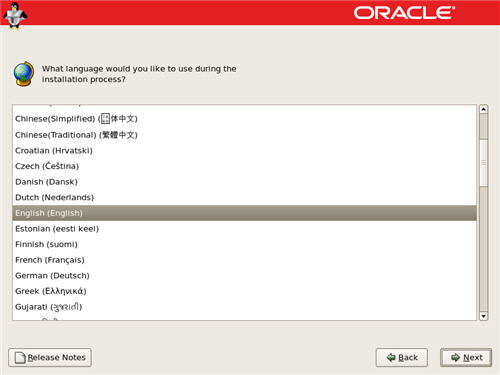
5. Choose “English” for installation language.
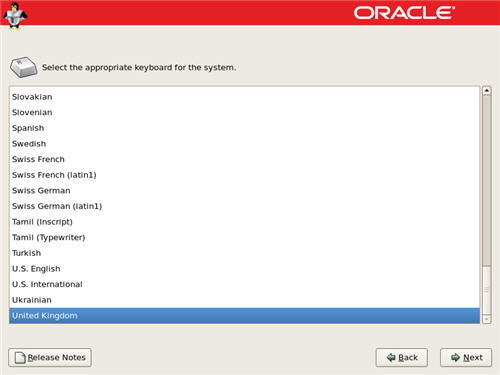
6. Choose keyboard language.
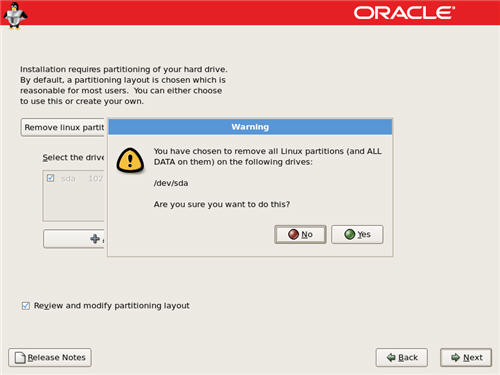
7. If the partition table on our device is unreadale it will create new partitions and will erase all data. If you accept this click the “YES”

8. Check the “Review and modify partitioning layout” check and click “Next” . If you want you can choose “Create custom Layout” option over combobox to do your own partitioning.

9. We will warn for removing all data on the partitions. Click [YES] to continue
10. It will show default partition layout. If you want to change you can do it.
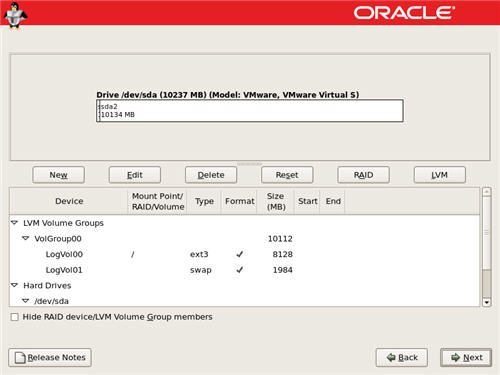
11. For example I want to change /boot partition. Double click /boot and enter 150 MB for size
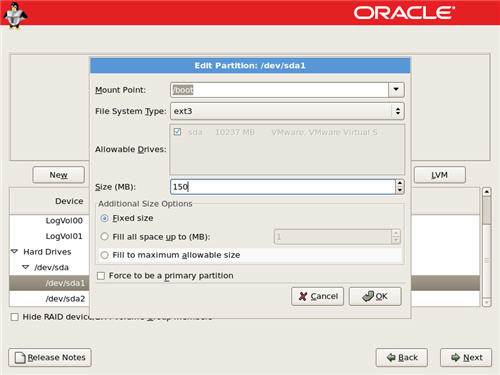
12. By same way I changed size of /root and /swap partitions. SWAP size must be twice physical RAM size
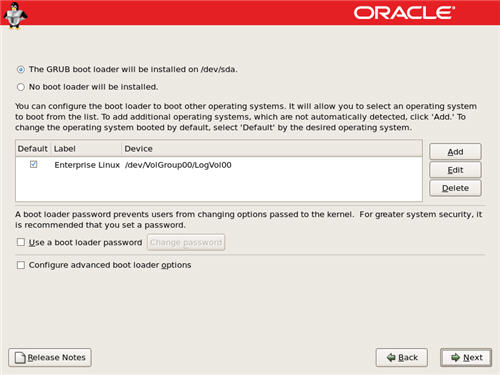
13. Boot loader software will be installed. No change in this screen. Click “Next”.
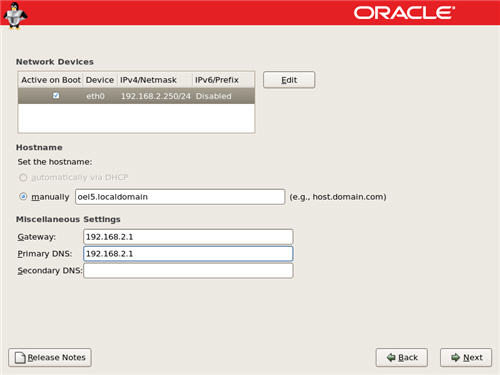
14. Enter our server name and IP address. For IP address click “Edit” button.
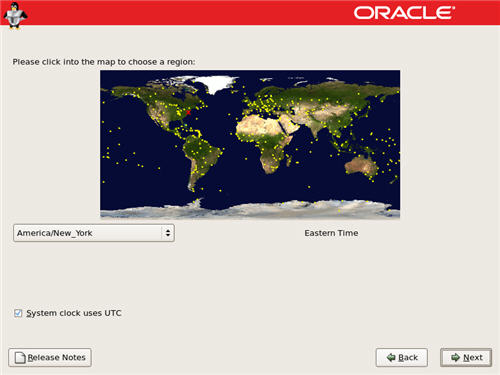
15. Choose your region. You can easily choose your region by clicking yellow punkts on the map.
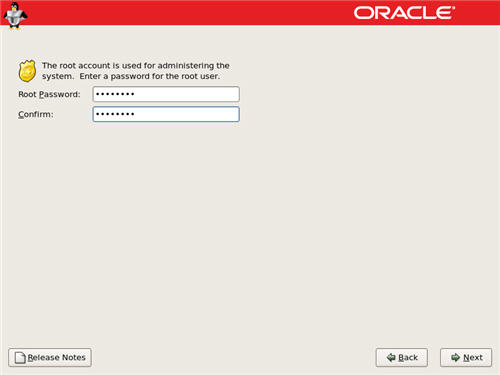
16. Enter root user password.
17. Oracle wants some rpm packages. Click “Customize now” radio button and “Next”

18. You must choose chek boxes below. Also right click to option to choose [select all optional packages]
Desktop Environments->GNOME
Applications->Editors, Graphical Internet, Text-based Internet
Development->Development Libraries, Development Tools, Legacy Software Development
Servers->Server Configuration Tools
Base System->Administration Tools, Base, Java, Legacy Software Support, System Tools, X Window System
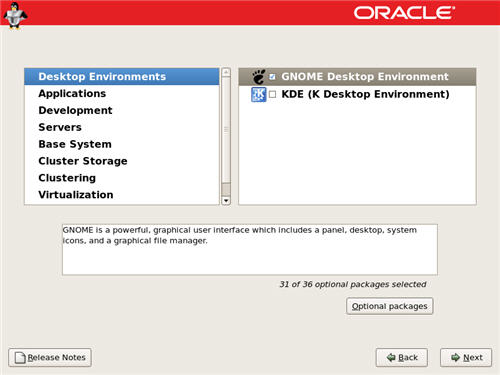
19. Click [NEXT]
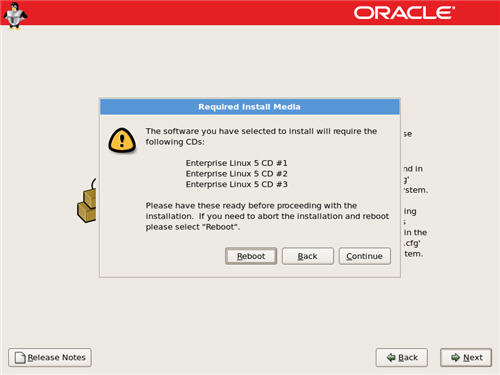
20. If our image file is not single file (May be it is CD set) then the installation will require next cd images
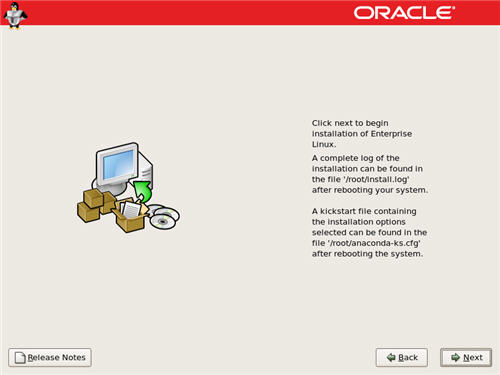
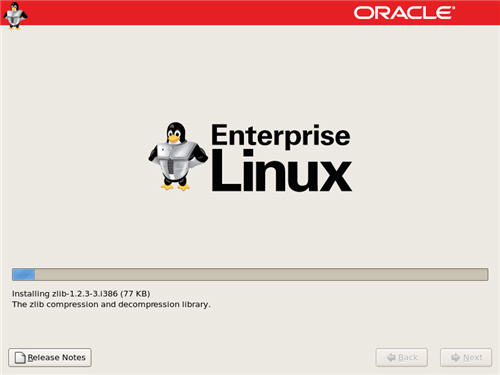
21. And the Installation will start.
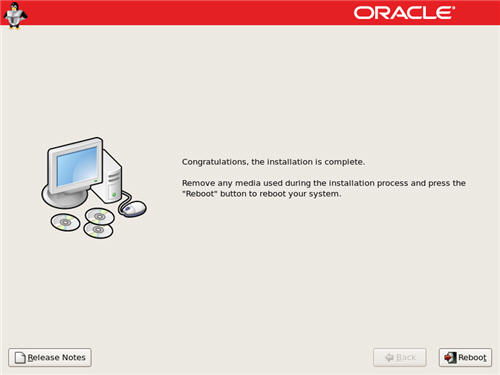
22. After installation click “Reboot” button to restart operating system.
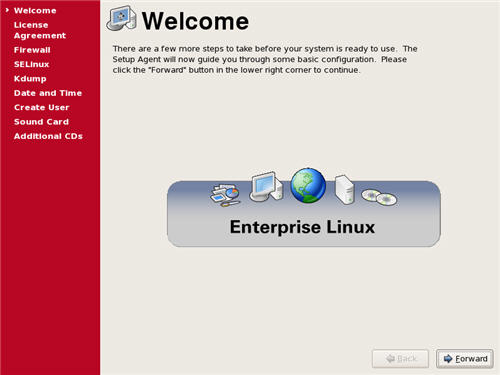
23. Linux operating system configuration screen will appear.
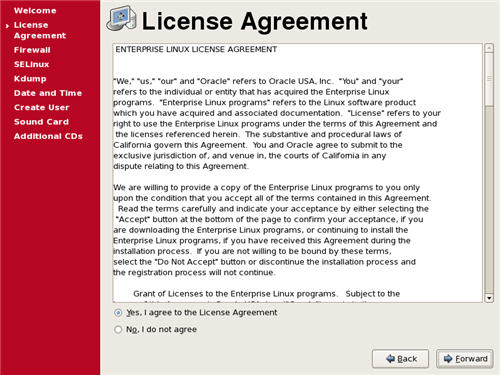
24. Accept the License Agreement and click “Forward”
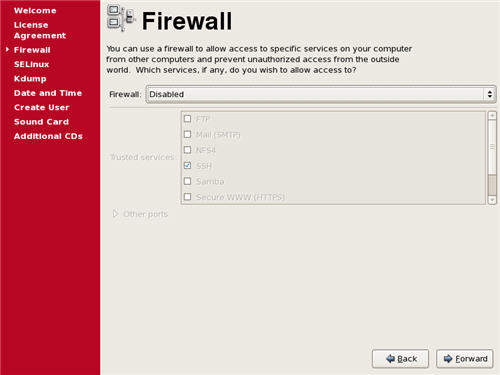
25. Set Firewall to disable and click “Forward”
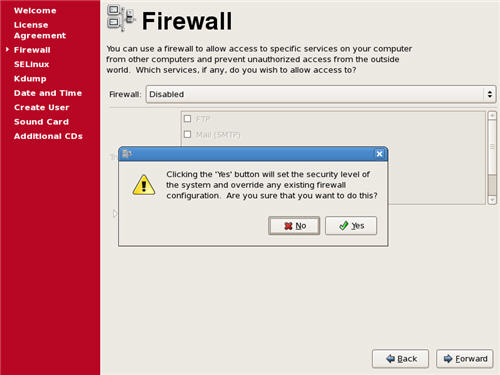
26. It will warn. Click “Yes” and “Forward”
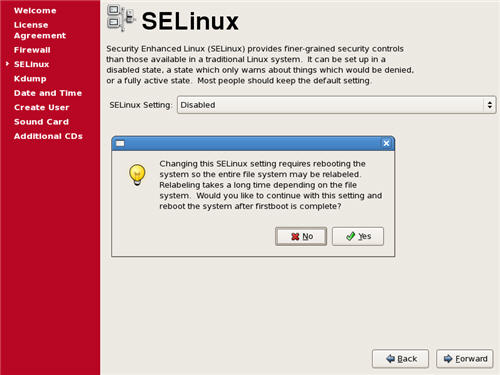
27. Set SELinux to disable and click “Forward”

28. Click “Yes”.
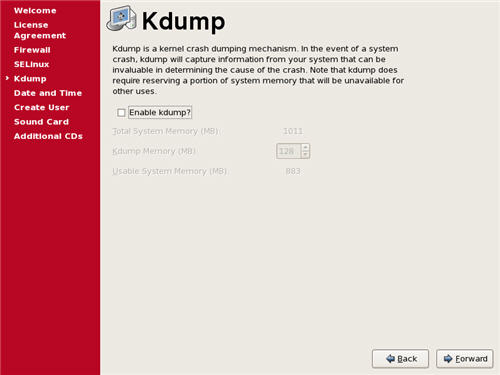
29. Kdump is kernel crach logging mechanism. No change on this screen click “Forward”. If you want to enable it you can do it anytime.
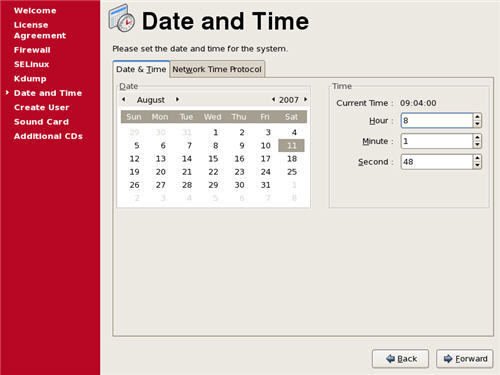
30. Set date and time
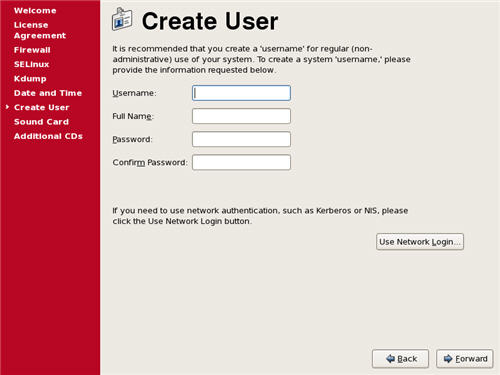
31. We don’t want to create a user now. Click “Forward”
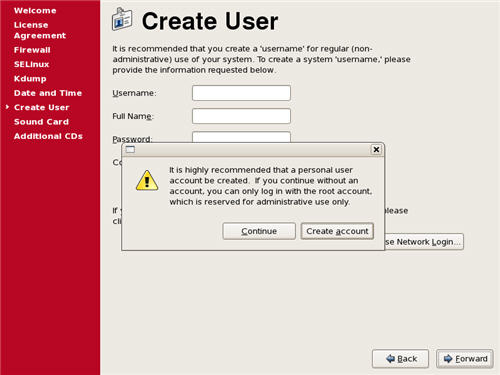
32. It will warn. Click “Continue”
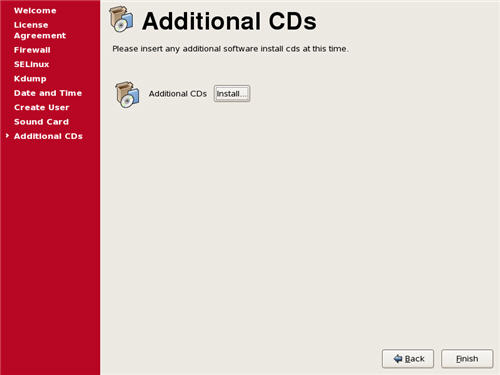
33. It is only information click “Forward”

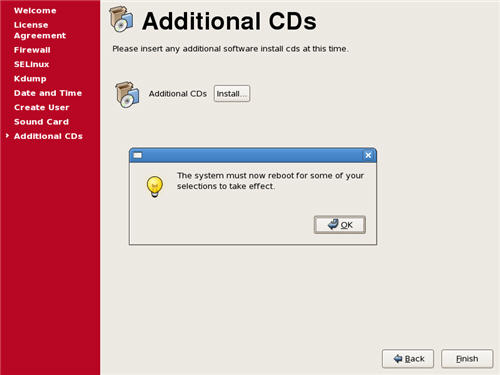
34. Click “Finish” button to finish configuration
35. It will ask for reboot system. Click “OK” to reboot the system.
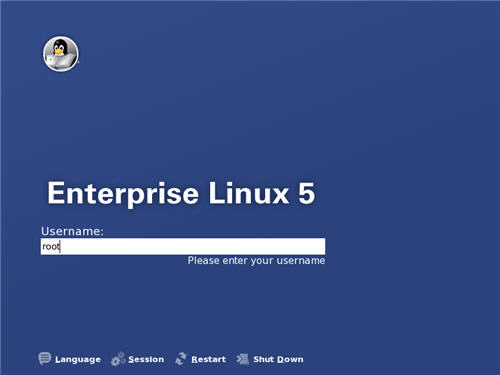
36. Login screen will appear.
Our installation finished. But not all. We need to set kernel parameters. In the next article I’ll write about these parameters.
Talip Hakan ÖZTÜRK

Thank you .
Good Job on explaining how to install Oracle Enterprise Linux 5 in a step by step manner.