
ORACLE DATABASE 11G R2 INSTALLATION
We learned step by step Oracle Enterprise Linux 5 installation on https://taliphakanozturken.wordpress.com/2010/12/12/oracle-enterprise-linux-5-installation/. After that we learned kernel parameters on OEL5.Now it’s time to create database through the installation of Oracle 11gR2 . In this article, I will write about step by step installation of Oracle database 11gR2. Unless otherwise stated, with the following procedures will have created the os user “oracle”.
1. Copy two zip files downloaded from http://www.oracle.com/technetwork/database/enterprise-edition/downloads/112010-linuxsoft-085393.html to server directory which owner of directory is “oracle” user. You can copy files from windows to linux with WinSCP program. Login to linux as “oracle” and unzip two files.
$ unzip linux_11gR2_database_1of2.zip
$ unzip linux_11gR2_database_2of2.zip
2. Change directory to “database” directory where you extracted zip files. And run the script “runInstaller” to setup installation.
$ cd /installation/database/
$ ./runInstaller
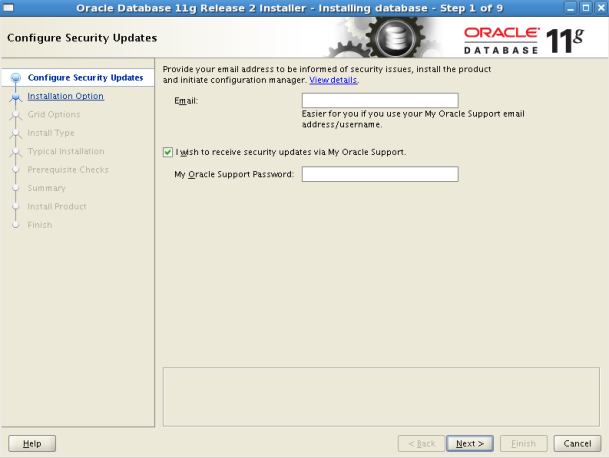
3. Uncheck “ı wish to receive security updates via My Oracle Support” and click Next
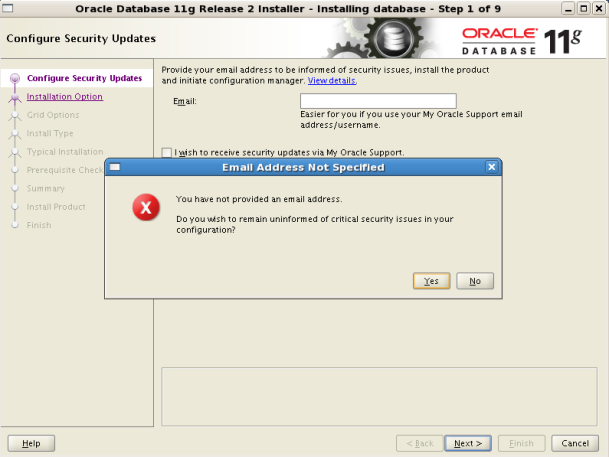
4. You will see a warning message. Click Yes to continue.
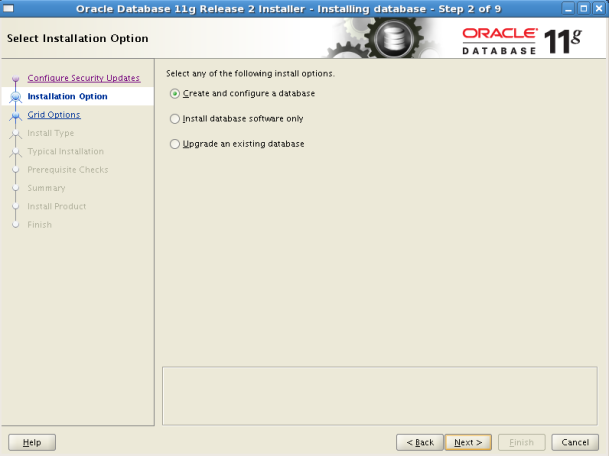
5. Choose “Create and configure a database” option.
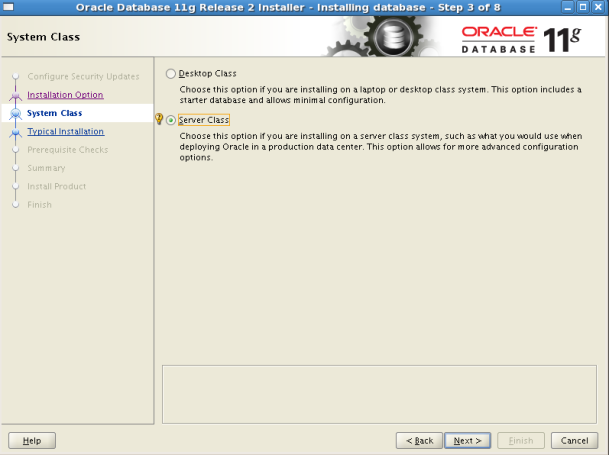
6. Choose “Server Class” option and let’s continue.
7. Choosw “Single instance database installation” option.

8. Choose “Advanced install” option
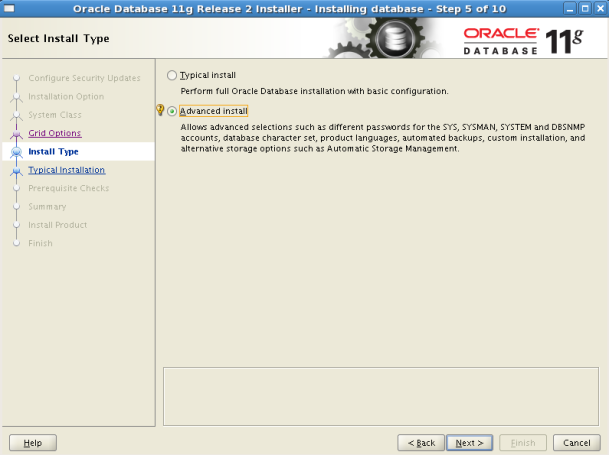
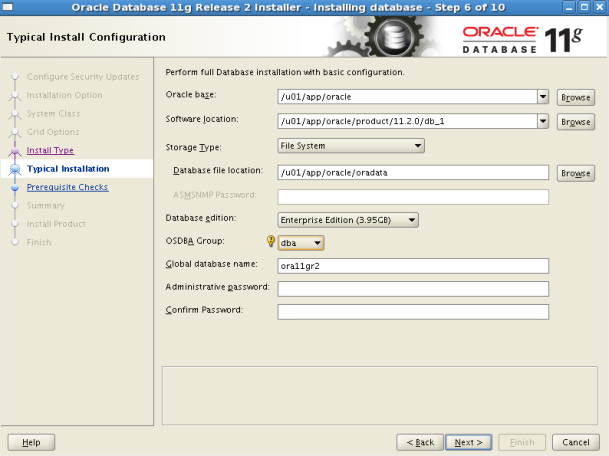
9. If you choose “Typical” in 8th step then you will see following screen.
Write oracle base directory
Write software location seçilir. (it is oracle home directory)
Choose “File System” as Storage type
Write database file location directory
Choose “Enterprise Edititon” as database edititon
Choose OSDBA Group as “dba”
Write Global Database Name
And write an administrative password.
10. If you choose “Advanced” in 8th step then you will see following screen. Click Next to continue.
11. Choose “Enterprise Edition” option. You can also choose database components with clicking “Select options”

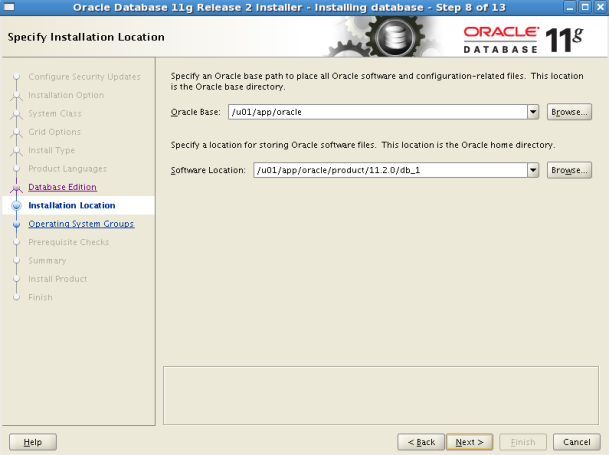
12. Write oracle base and software location (oracle home) directories.
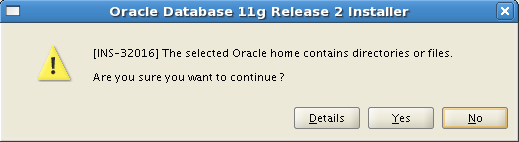
13. You can get a warning message. Click Yes to continue.
14. Write oracle inventory directory

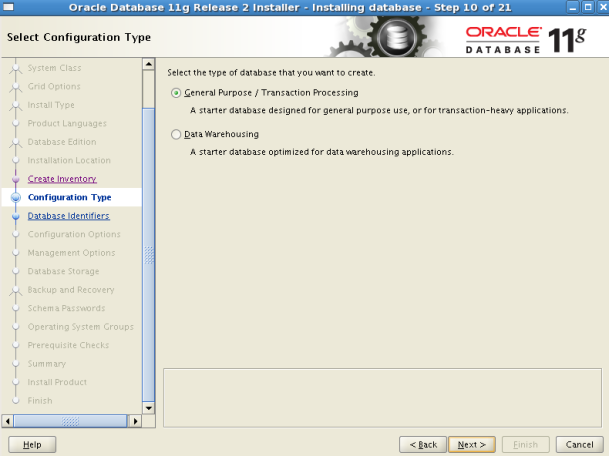
15. Choose “General Purpose” option. Because our database will be OLTP.
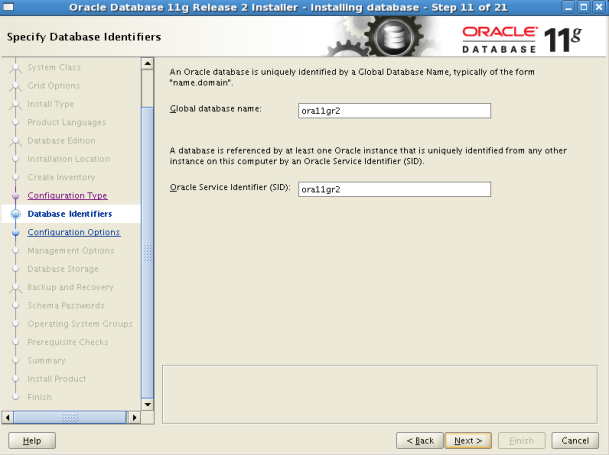
16. Write global database name and SID. You can write same name for single instance installation.
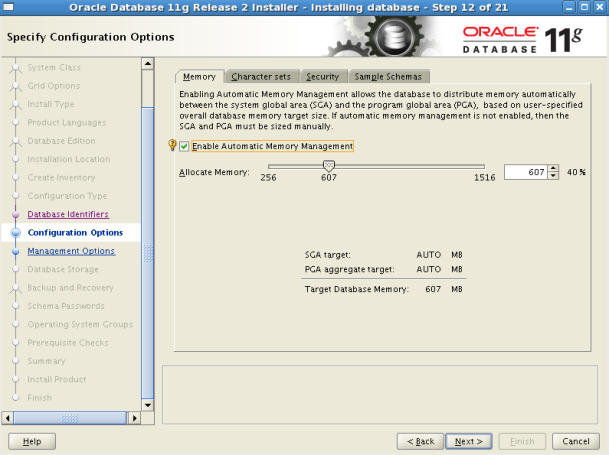
17. Check “Enable Automatic Memory Management”
18. Choose database charecter set on second tab.
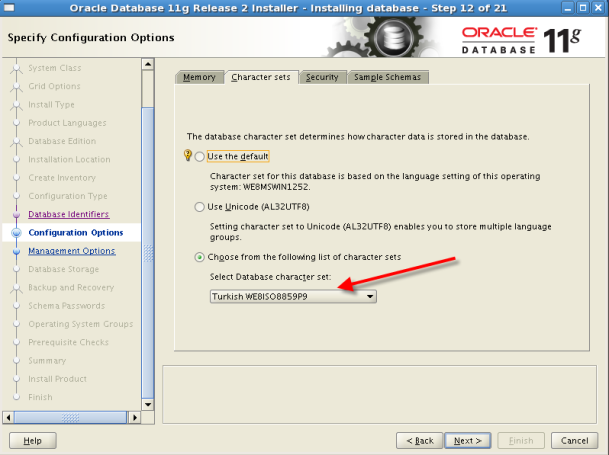
19. Click Next.
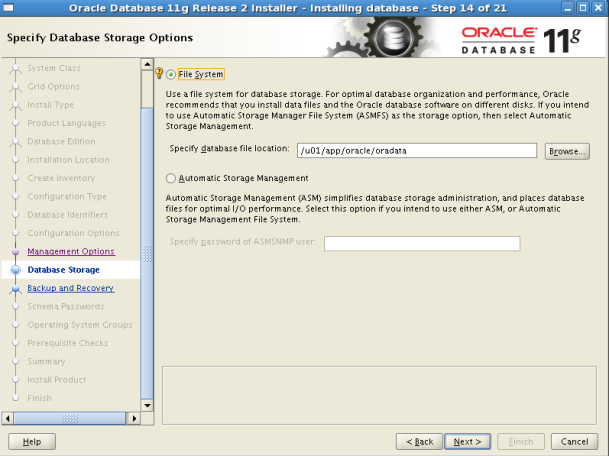
20. Choose File System and specify data file location.
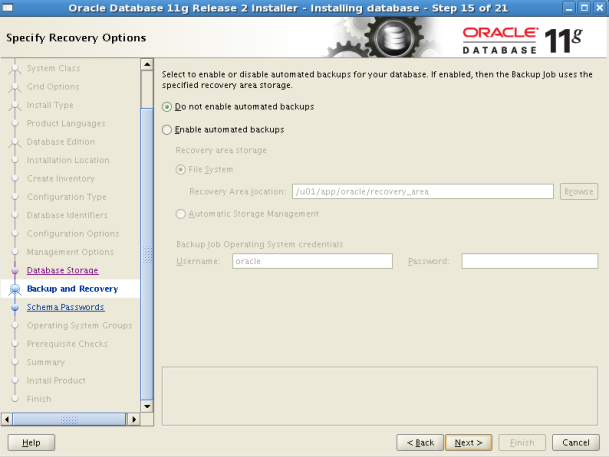
21. Choose “Do not enable automated backups”.
22. Write a strong password for SYS,SYSTEM,SYSMAN andDBSNMP users.

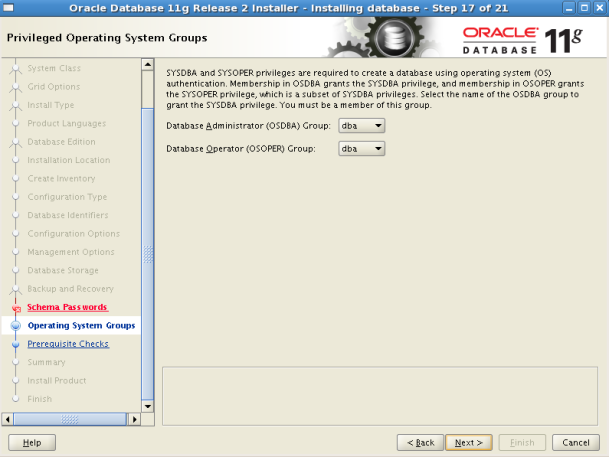
23. Choose our operating system group dba and click Next.
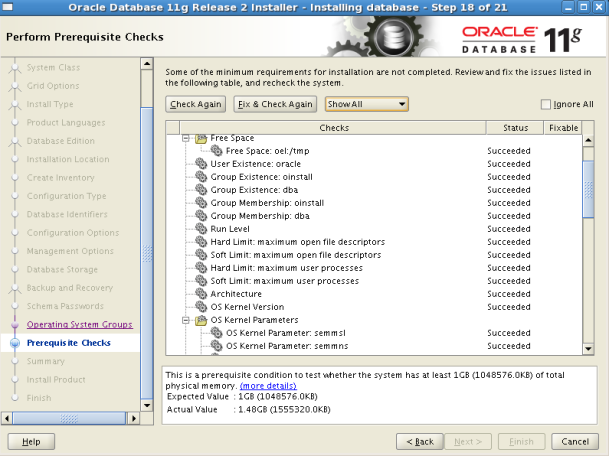
24. If everything is OK then we can start installation.
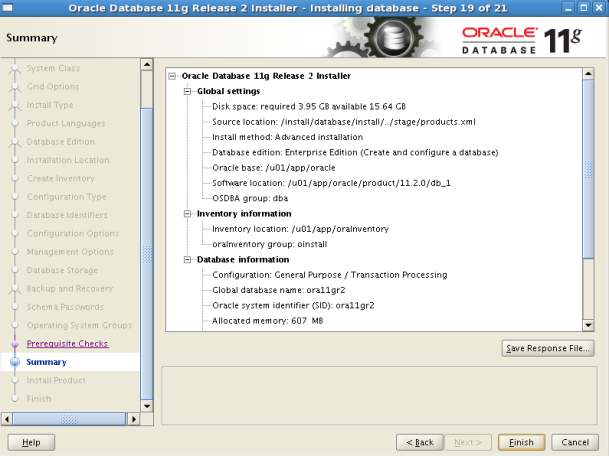
25. Click “Finish” to start installation
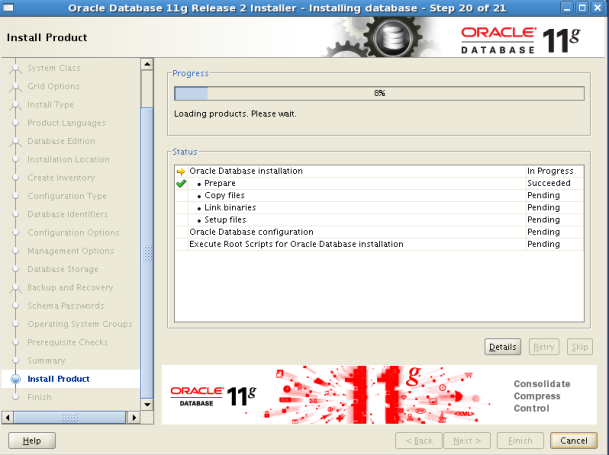
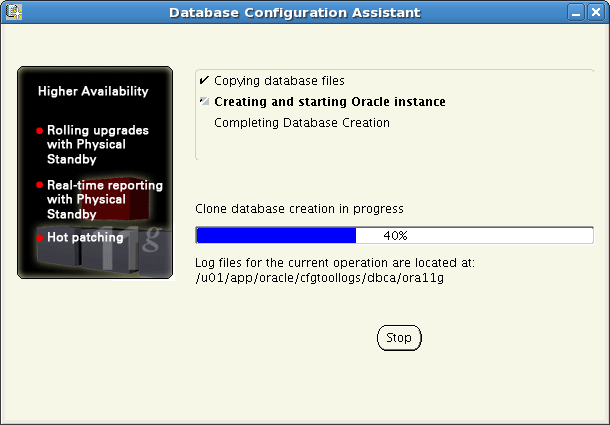
26. After software installation, database will be creating.
27. After installation we will see following screen. We must run sh scripts with root user.
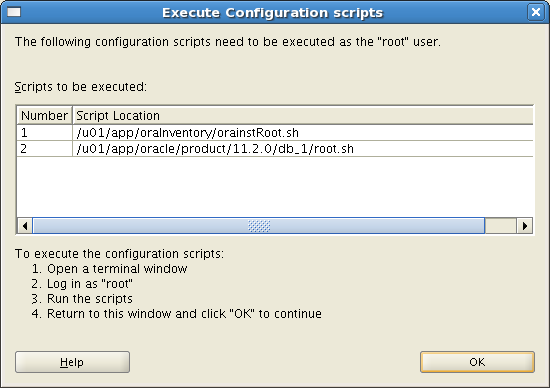
$/u01/app/oraInventory/orainstRoot.sh
Changing permissions of /u01/app/oraInventory.
Adding read,write permissions for group.
Removing read,write,execute permissions for world.
Changing groupname of /u01/app/oraInventory to oinstall.
The execution of the script is complete.
$/u01/app/oracle/product/11.2.0/db_1/root.sh
Running Oracle 11g root.sh script…
The following environment variables are set as:
ORACLE_OWNER= oracle
ORACLE_HOME= /u01/app/oracle/product/11.2.0/db_1
Enter the full pathname of the local bin directory: [/usr/local/bin]:
Copying dbhome to /usr/local/bin …
Copying oraenv to /usr/local/bin …
Copying coraenv to /usr/local/bin …
Creating /etc/oratab file…
Entries will be added to the /etc/oratab file as needed by
Database Configuration Assistant when a database is created
Finished running generic part of root.sh script.
Now product-specific root actions will be performed.
Finished product-specific root actions.
28. After running scripts click OK button and Close button
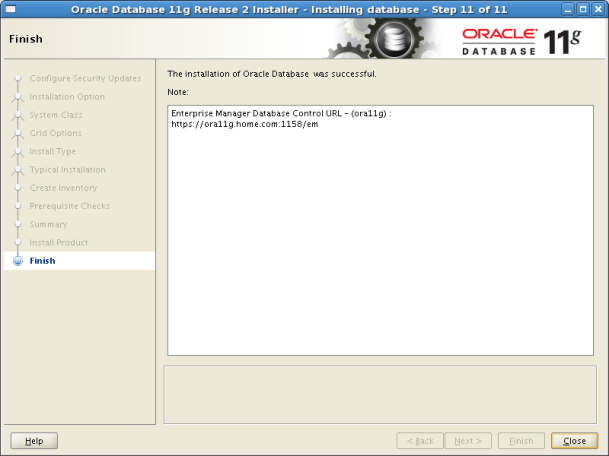
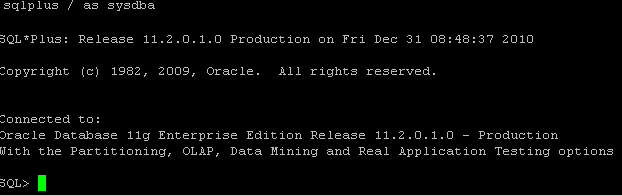
29. It is finished. Now, we can connect to our database over sql*plus.
Talip Hakan ÖZTÜRK
